Table of Contents
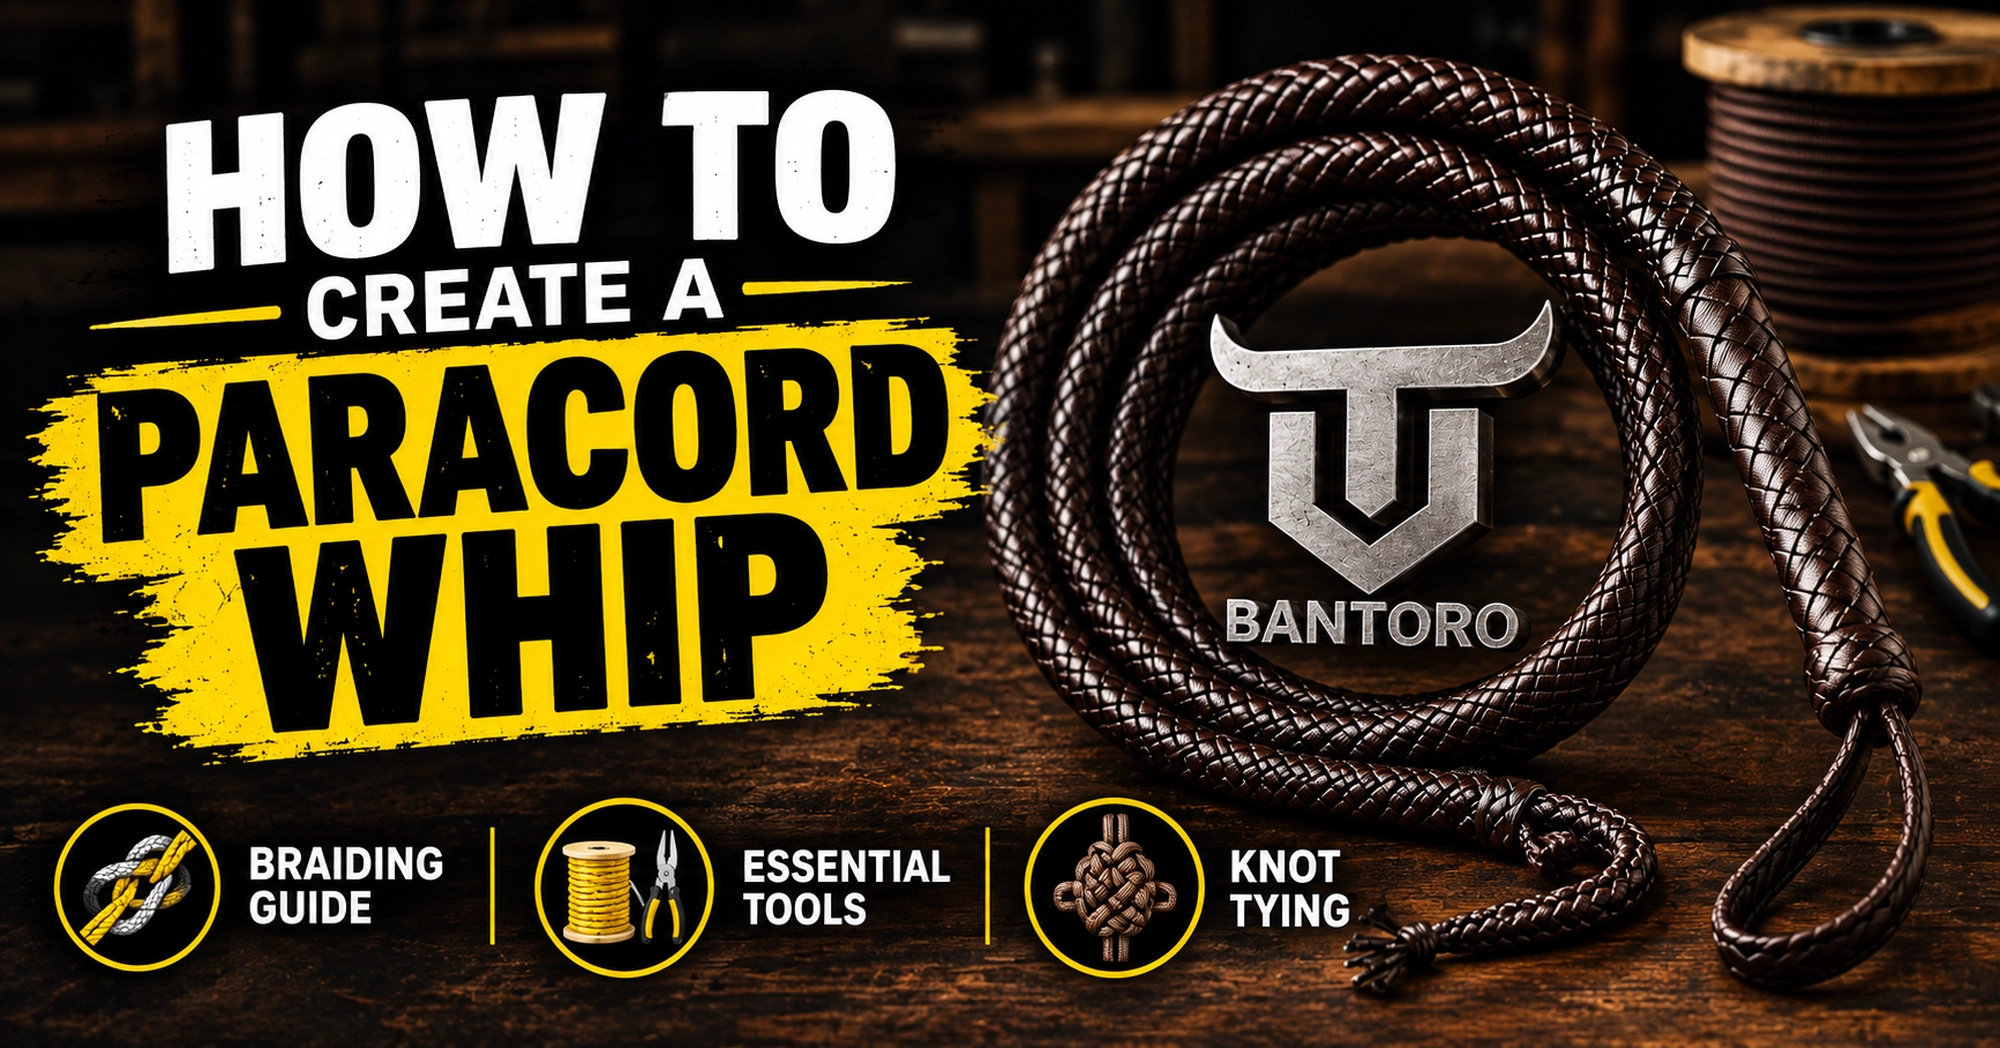
ToggleCreating a paracord whip is a fascinating braiding project that combines careful planning, patience and traditional whip-making principles with modern synthetic materials.
Unlike a simple decorative paracord braid, a well-made paracord bullwhip gradually changes in diameter along its length. The construction should transition smoothly from the rigid handle into the flexible braided thong before finishing with a fall and lightweight cracker.
For anyone interested in leathercraft, knot work or traditional whip making, learning how to create a paracord whip is also an excellent way to understand how the different components of a bullwhip work together.
This guide explains the complete construction process, from planning the core to finishing the final braid.
Safety note: A functional whip can move at very high speed. Construct and use one responsibly. Never practice near people, animals, vehicles, windows or fragile objects. Wear suitable eye protection and use a large, unobstructed outdoor practice area.
What Is a Paracord Whip?
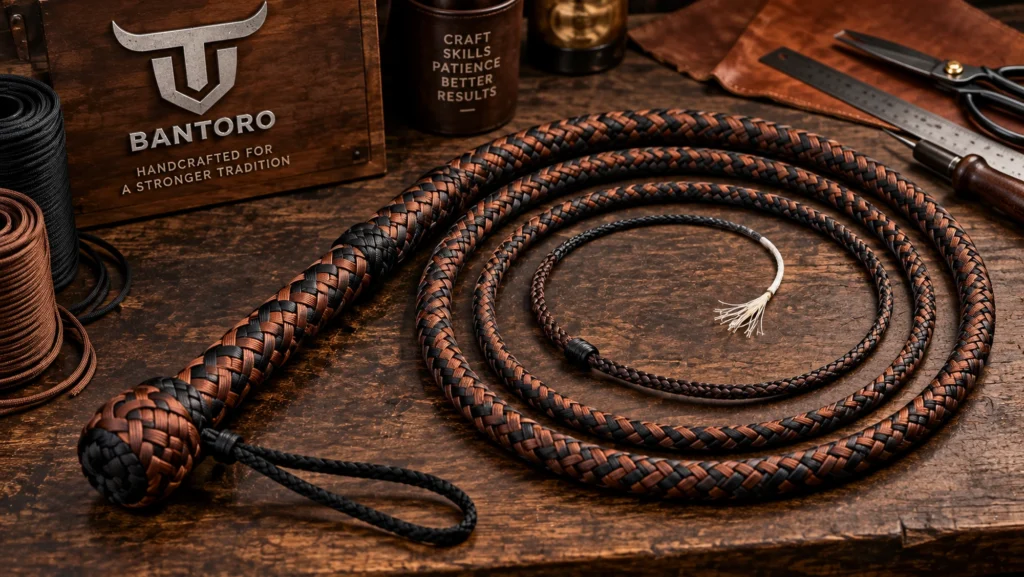
A paracord whip is a braided whip constructed primarily from nylon paracord rather than traditional leather.
Paracord is popular with whip makers because it is strong, widely available, relatively consistent in diameter and offered in an enormous range of colours. Synthetic material also requires different maintenance from natural leather.
The underlying principles of a well-constructed paracord bullwhip, however, remain similar to those of traditional bullwhip construction.
The whip needs to progressively taper.
That taper matters because a whip does not behave like a rigid stick. Movement travels along its flexible length toward progressively lighter sections.
A typical bullwhip consists of:
- A rigid or semi-rigid handle
- A transition between the handle and flexible body
- A long braided thong
- A progressively narrowing taper
- A fall
- A lightweight cracker or popper
- Sometimes a wrist loop and decorative knots
Understanding these parts before you begin makes the construction process much easier.
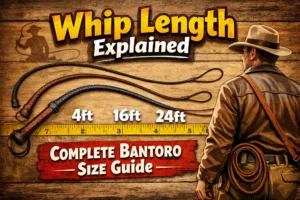
For a detailed explanation of how Bantoro measures these different sections, see the Whip Length Explained – Complete Bantoro Size Guide.
What You Will Need: Materials & Tools
Before diving into the braiding process, you need to assemble your toolkit. Choosing high-quality Type III 550 paracord is essential for a balanced, durable whip.
550 Paracord: Around 100 to 150 feet total (in contrasting colors for a striking look). You can explore various color options directly through our Bantoro Paracord Collection.
Core Material: Lead shot, steel rod, or weighted core for the handle, plus nylon trimmer line or inner strands for the belly.
Tools: Sharp utility scissors or shears, a lighter for melting ends, a fid or lacing needle, and electrical tape.
Step 1: Preparing the Core and Belly
The secret to a great whip lies in its internal weight distribution and taper. A proper whip tapers smoothly from a thick handle down to a thin, flexible tip.
Build the Foundation: Cut your weighted core material for the handle (roughly 8 to 10 inches). Secure it tightly with electrical tape.
Construct the Belly: Layer your inner core strands, tapering them down progressively so the whip naturally narrows as it extends toward the fall.
Secure the Base: Wrap the belly tightly with nylon cord or thin string to ensure the internal structure stays rigid and compact during the braiding process.
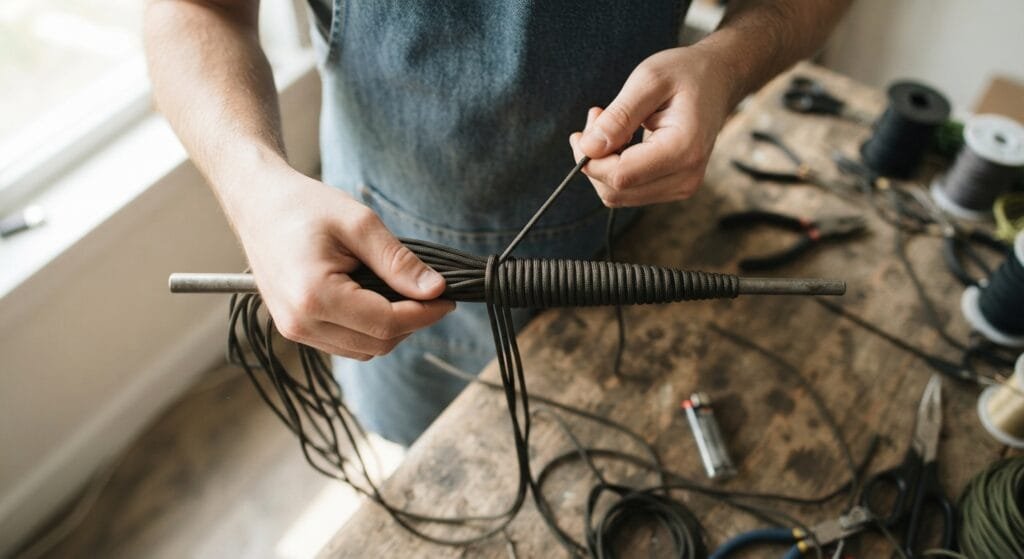
Step 2: Crafting the Handle Foundation
A secure, comfortable handle gives you precise control over your whip.
Add Grip: Build up the handle diameter by adding an extra wrap or core sleeve where your hand will rest.
Start the Turks Head Knot: Tie a decorative Turks Head knot at the base of the handle to transition cleanly from the wrist loop to the main body.
Step 3: Weaving the Overlay Plait
This is where the magic happens. The overlay is the outermost layer of braiding that gives the whip its classic diamond pattern and structural integrity.
Choose Your Strand Count: Most beginner-to-intermediate whips use a 12-strand or 16-strand plait.
Begin the Plaiting Sequence:
Lay your strands evenly over the top of the handle foundation.
Follow a strict over-two, under-two pattern (or your chosen braiding formula).
Maintain steady, even tension as you work your way down. Loose spots will result in a floppy, unresponsive whip.
Tapering Strands: As the whip narrows toward the tip, drop strands systematically and tuck them cleanly into the core matrix.
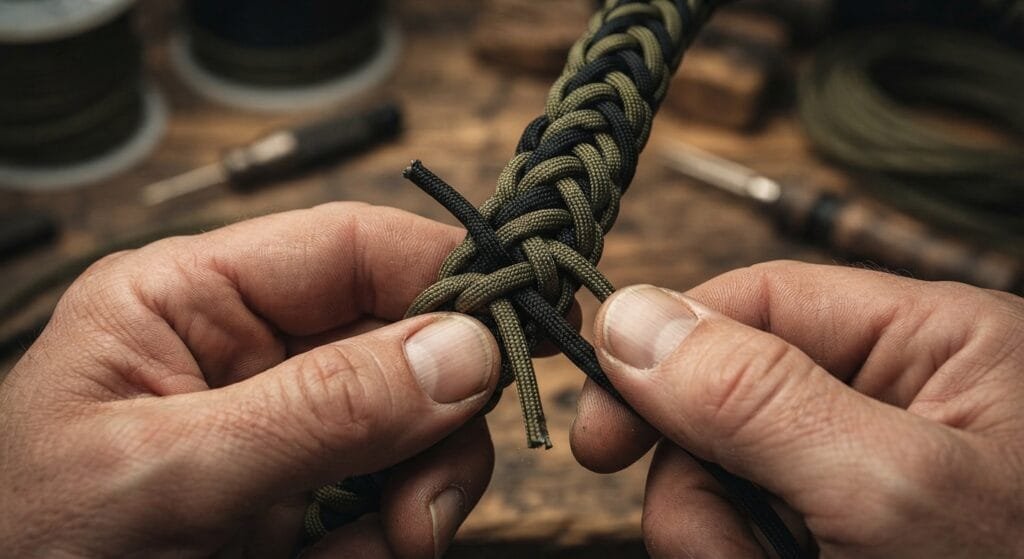
Step 4: Adding the Fall and Cracker
The whip body is now complete, but you need a fall and cracker to achieve that signature sound.
The Fall: Attach a strong, flexible piece of leather or specialized nylon line (the fall) to the very end of the braided whip body using a hitch knot.
The Cracker: Tie a small piece of monofilament or specialized frayed yarn (the cracker) to the end of the fall. This is what breaks the sound barrier when cracked!
Seal the Ends: Carefully use your lighter to melt any exposed paracord cut ends, pressing them down securely to prevent fraying.
Expert Tips for Maintenance and Preservation
Conditioning: If you incorporate leather elements into your fall, treat them periodically with natural oils to prevent cracking.
Cleaning: Wash your paracord whip with mild soap and warm water if it gets muddy outdoors, then hang it straight to air dry completely.
Storage: Never fold or tightly crease your whip; always hang it vertically or coil it in large, natural loops.
Conclusion
Making your own paracord whip is a fantastic project that combines patience, skill, and creativity. With the right materials from Bantoro and a steady hand, you now have a custom, heavy-duty tool built entirely by you.
Have you tried making your own paracord gear yet? What color combination are you planning to use for your first whip?