Table of Contents
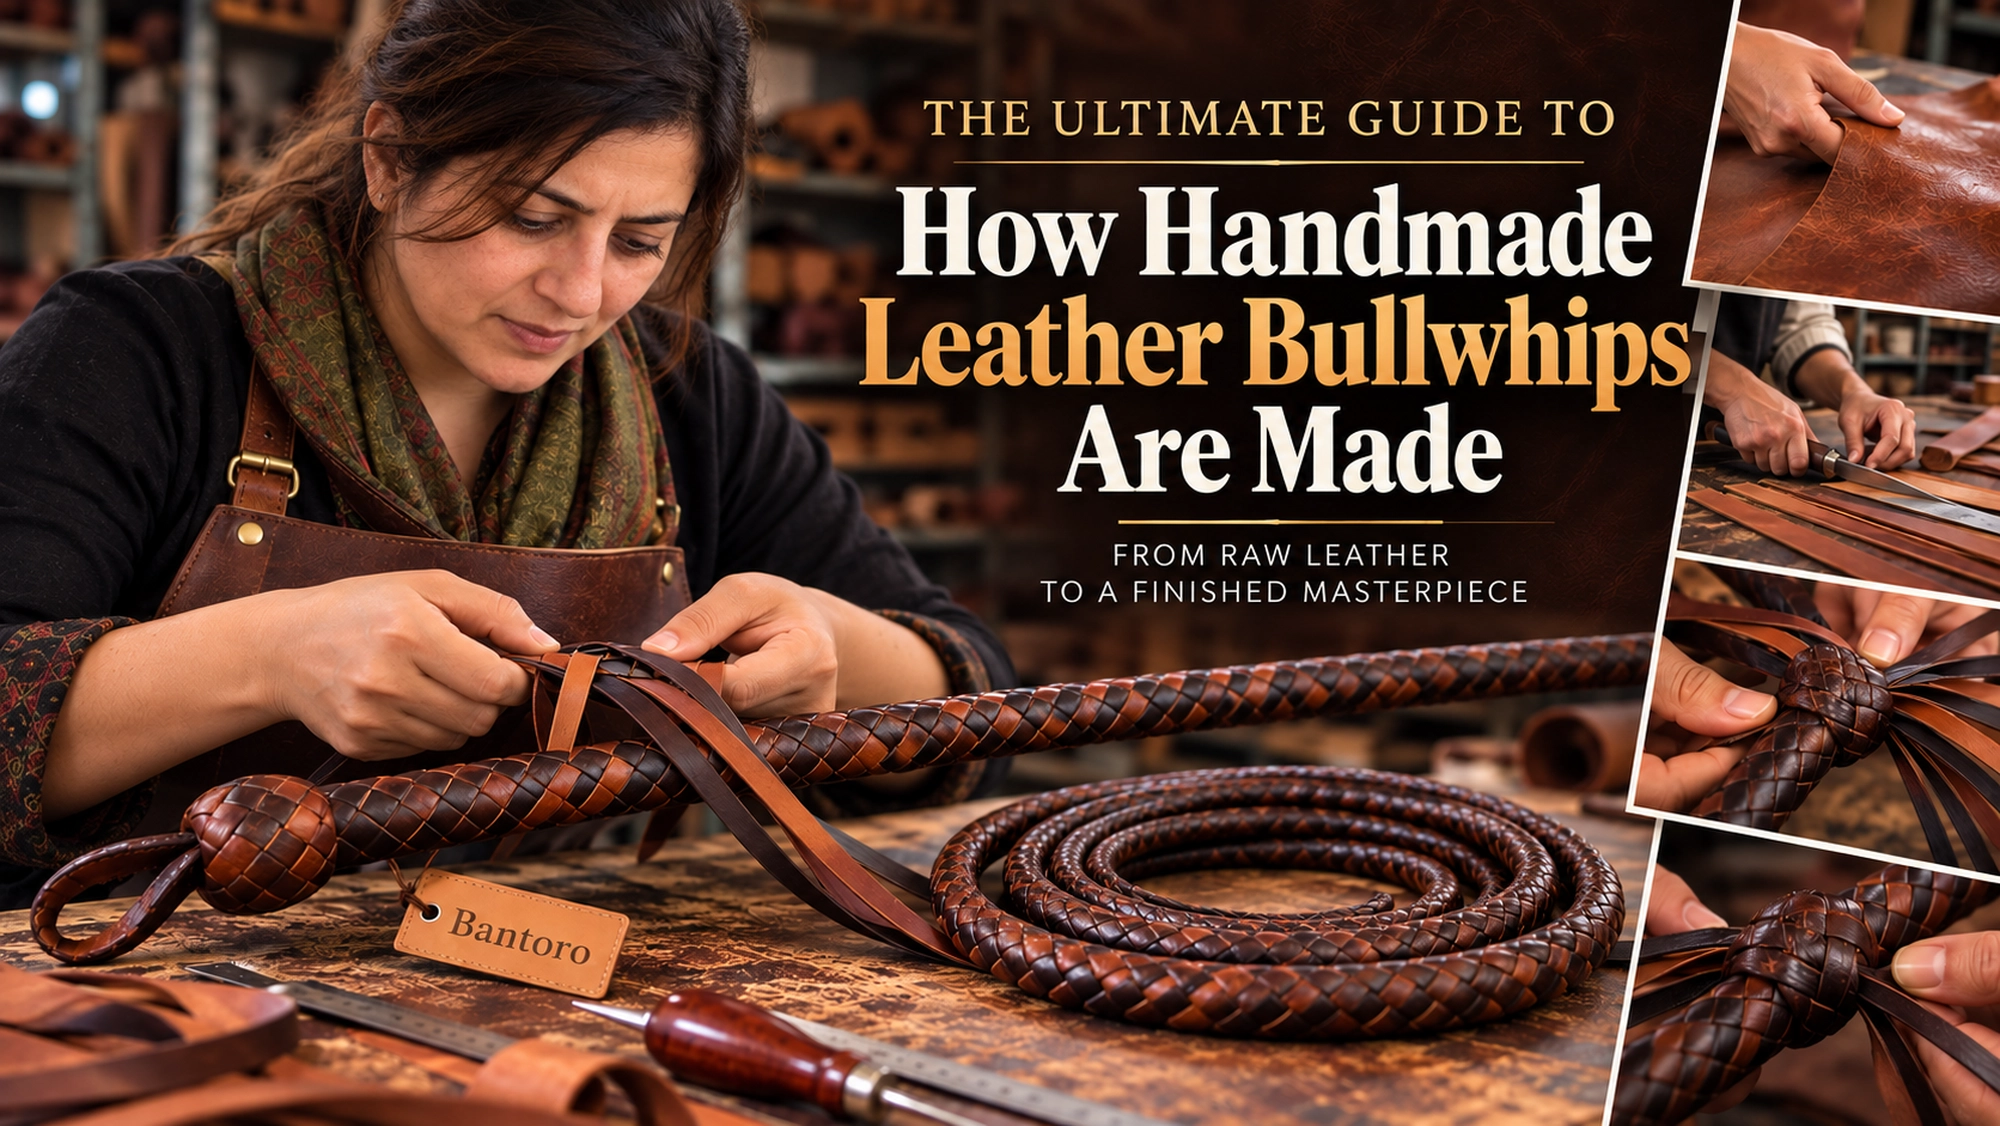
ToggleA finished leather bullwhip can look deceptively simple: a handle followed by a beautifully braided body that gradually tapers towards a fall and cracker. But beneath that finished exterior is a surprisingly detailed construction process.
At Bantoro, making a leather bullwhip involves much more than simply braiding strips of leather together. Leather selection, pattern preparation, cutting, core construction, handle building, hand plaiting, tapering and finishing all contribute to the finished product.
Our approach draws on traditional leatherworking skills combined with consistent workshop processes developed through years of manufacturing leather goods. You can learn more about the business and our leatherworking background on the Bantoro About Us page.
Here is a closer look behind the scenes at how our leather bullwhips are made.
1. Selecting the Leather
Every bullwhip begins with the material.
Before cutting starts, the leather is inspected for characteristics such as its surface, thickness, consistency and suitability for the particular component being produced.
Different bullwhips can also require different leather. For example, Bantoro’s brown cowhide models use genuine top-grain cowhide, while some of our professional 16-plait models are produced from kangaroo leather.
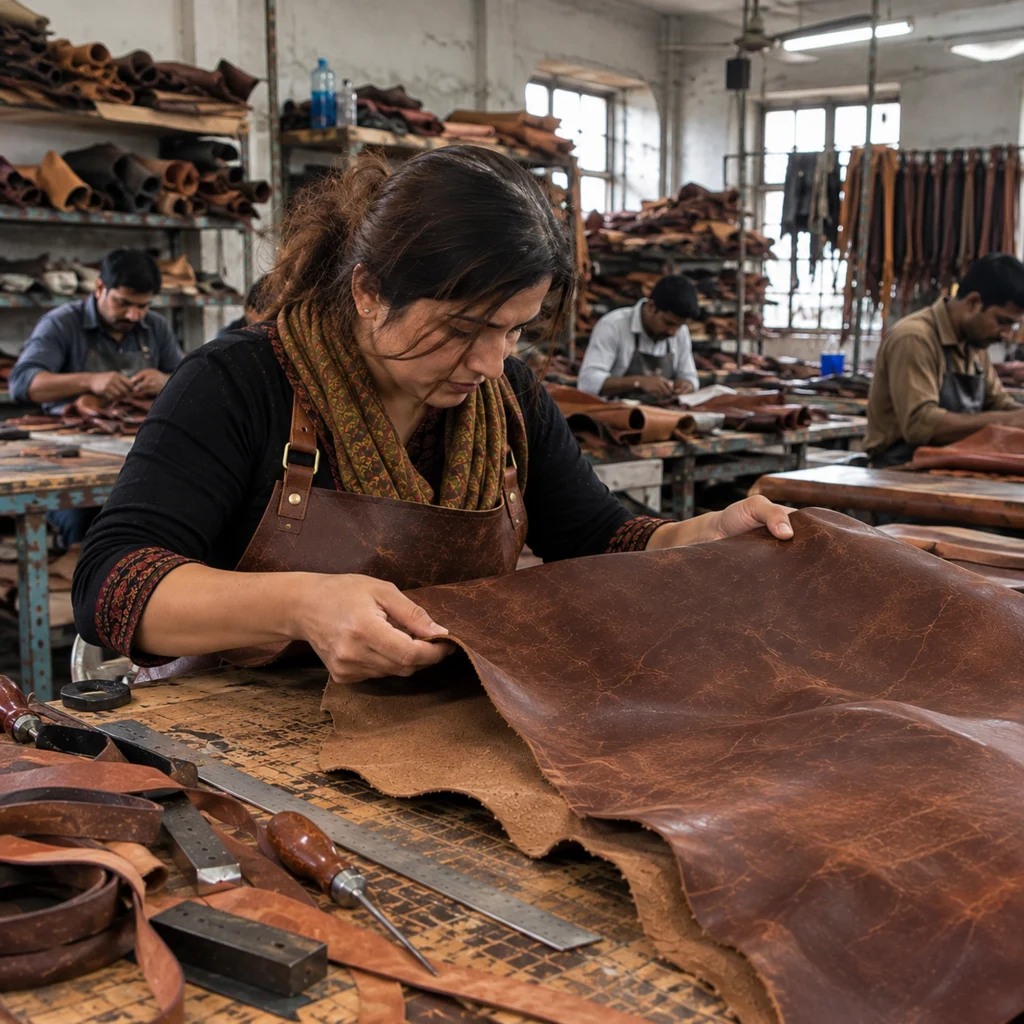
Leather terminology matters here. The Leather Working Group defines full-grain leather as leather that retains its entire grain without the surface being removed through corrective mechanical treatment. “Top grain” is a broader category and should not automatically be treated as synonymous with full grain.
The goal at this stage is straightforward: choose material suitable for the job before any construction begins.
2. Creating the Bullwhip Pattern
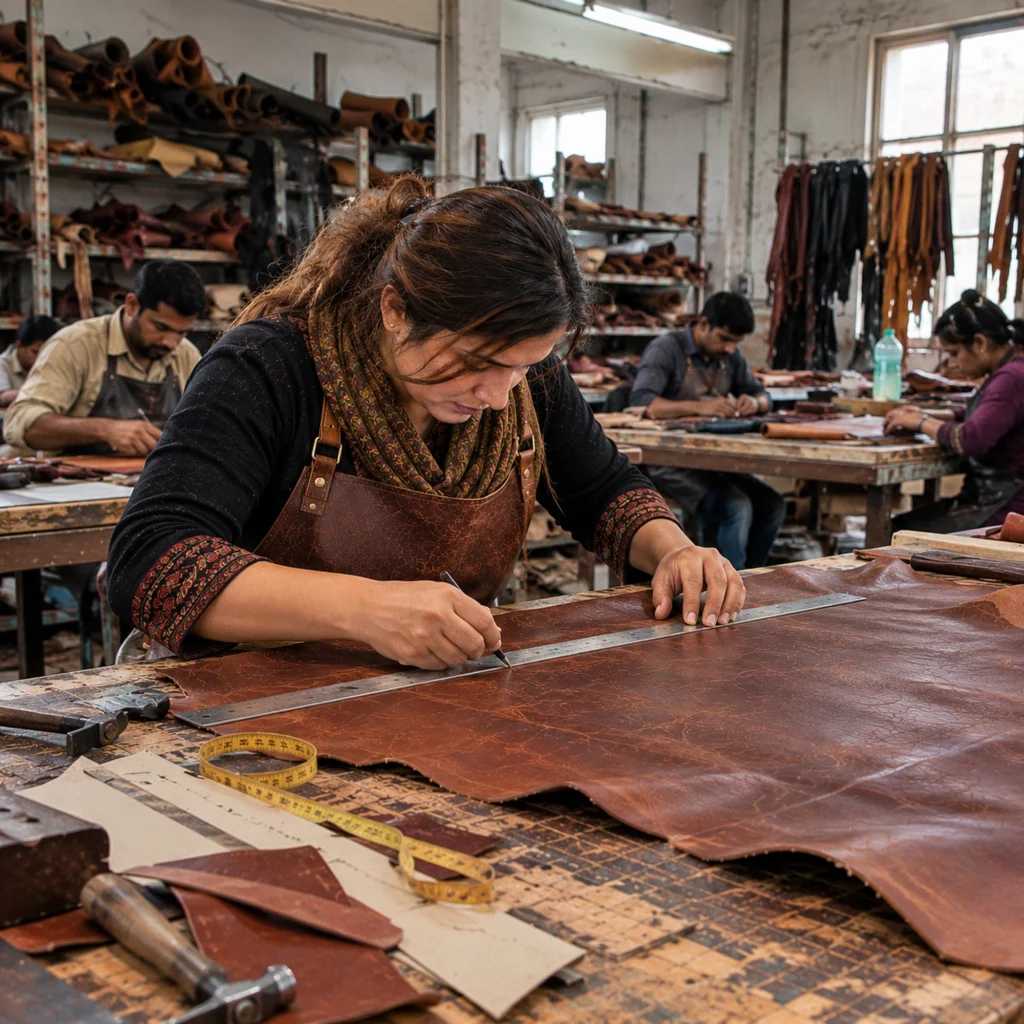
Once suitable leather has been selected, measurements for the different components are marked out.
Accuracy matters because a bullwhip is not uniform from one end to the other. Its construction has to transition progressively from the rigid handle into the flexible thong and eventually into the much finer end section.
Patterns and measurements help the leatherworker determine where components will begin, finish and taper.
This planning stage may not be as visually dramatic as braiding, but it establishes the proportions for everything that follows.
3. Cutting the Leather
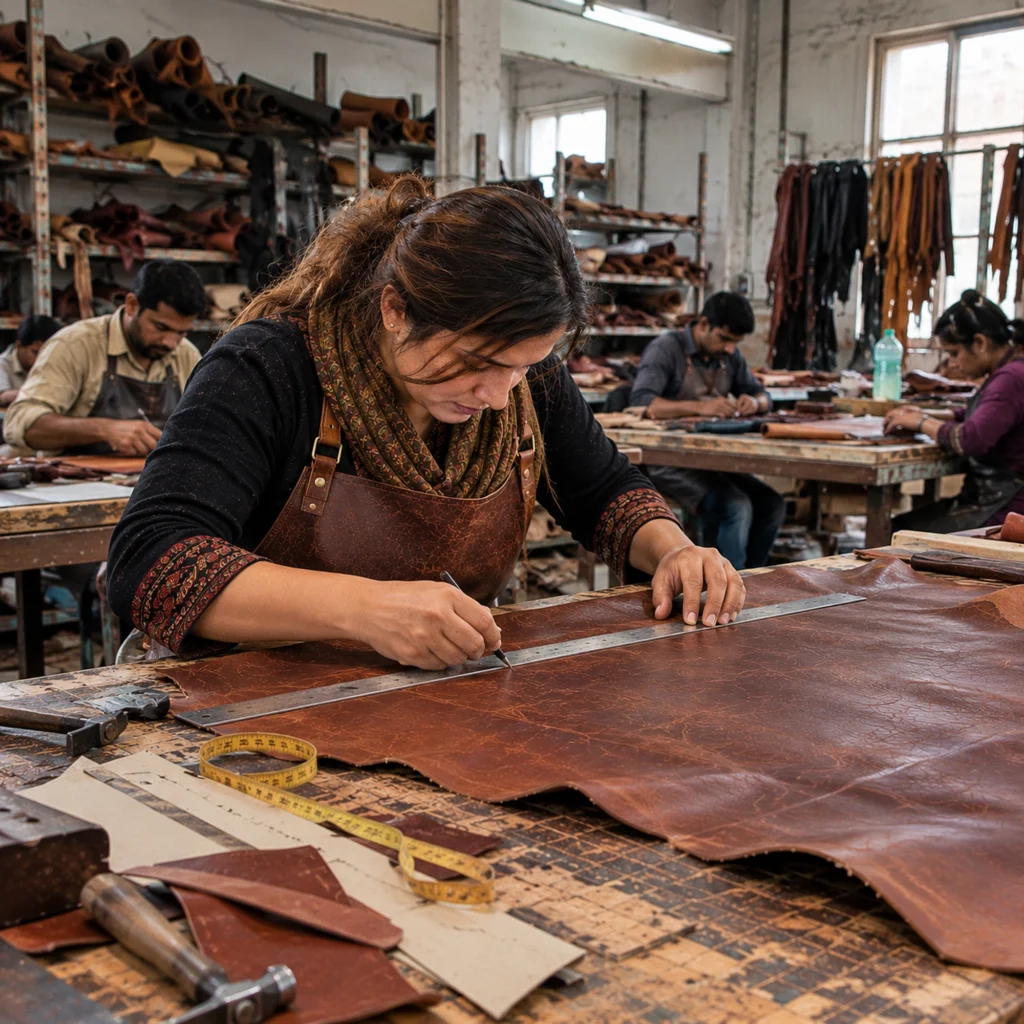
The marked leather is then carefully cut into the sections and long strands required for construction.
This is particularly important for the strands that will eventually form the braided exterior. The dimensions must work with the gradually changing diameter of the whip rather than creating a uniformly thick braid from beginning to end.
Clean, controlled cutting also reduces unnecessary material variation before the strips move to the next stage.
4. Preparing and Tapering the Leather Strips
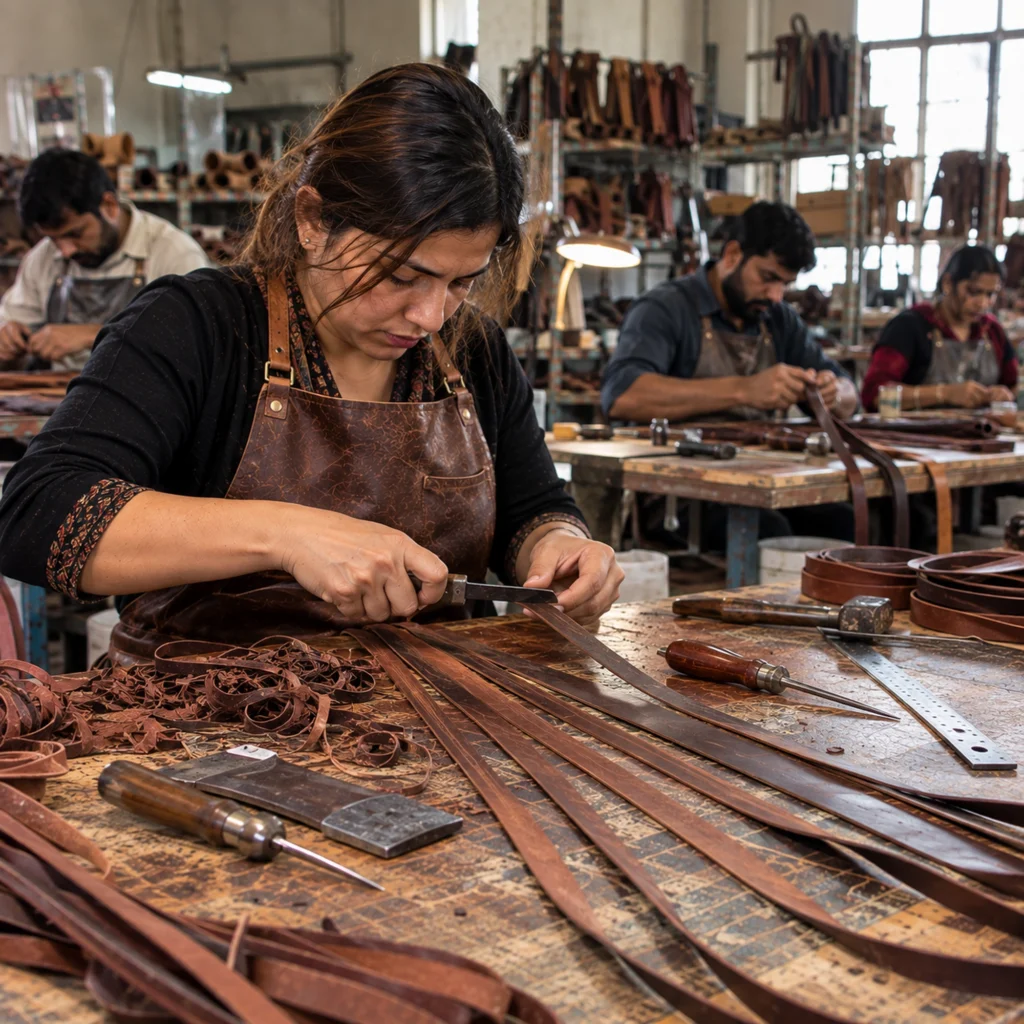
Freshly cut strips are not necessarily ready to braid immediately.
Individual strands are trimmed and prepared so their width, edges and taper are appropriate for the section of the whip being constructed.
The objective is to create strands that can lie closely against neighbouring strands when plaited. Careful preparation here contributes to a cleaner exterior braid later.
5. Preparing the Inner Core
A bullwhip is more than the braid visible on the outside.
The internal structure creates the foundation upon which the subsequent layers are built. The precise construction can vary according to the particular bullwhip design.
The core establishes the starting profile of the whip and provides a foundation for the leather layers that follow.
This internal construction is one reason why judging a bullwhip solely from its exterior appearance doesn’t tell the entire story.
6. Building the Handle
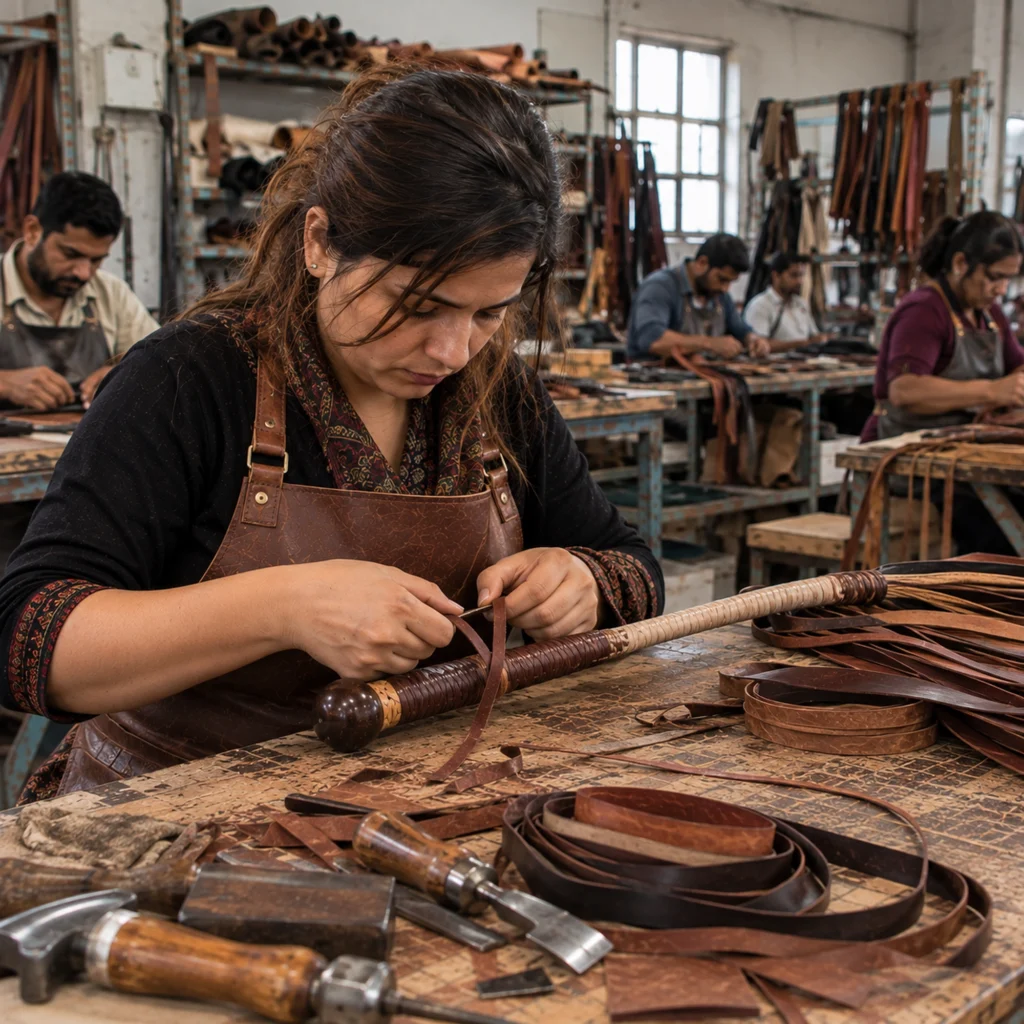
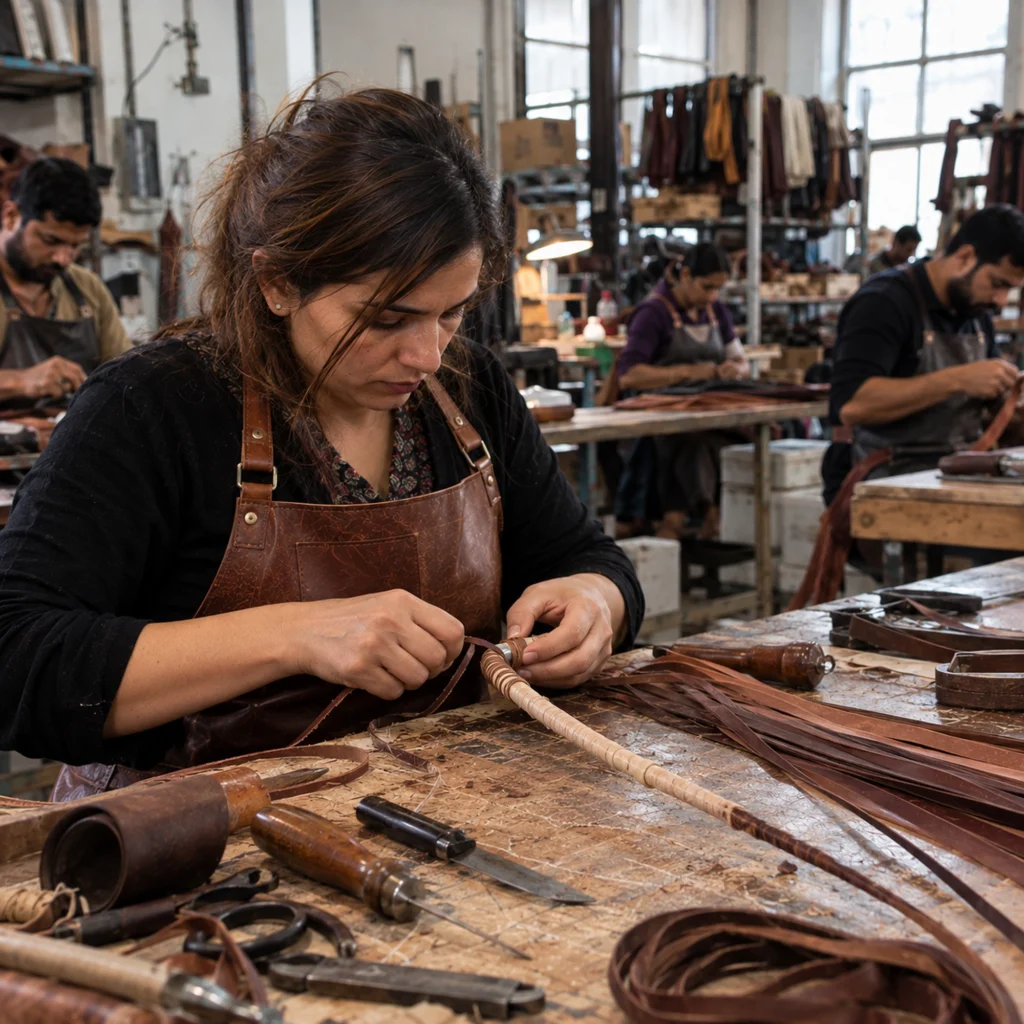
The handle forms the rigid control section of the bullwhip.
It must integrate correctly with the core and the beginning of the flexible thong rather than behaving like an unrelated component attached afterwards.
Bantoro’s current cowhide product specifications commonly describe approximately 9-inch handles, while construction details differ between individual ranges.
At this stage, the foundation is prepared for the leatherwork that will eventually cover and finish the handle.
7. Hand Braiding the Leather
This is where the characteristic appearance of a leather bullwhip begins to emerge.
Prepared leather strands are plaited around the underlying structure by hand. Rather than completing the entire braid at once, the leatherworker progresses along the whip while maintaining the positioning and tension of the strands.
The number of plaits depends on the model. Bantoro currently offers cowhide models with 12-plait construction, while some kangaroo leather models use 16 plaits.
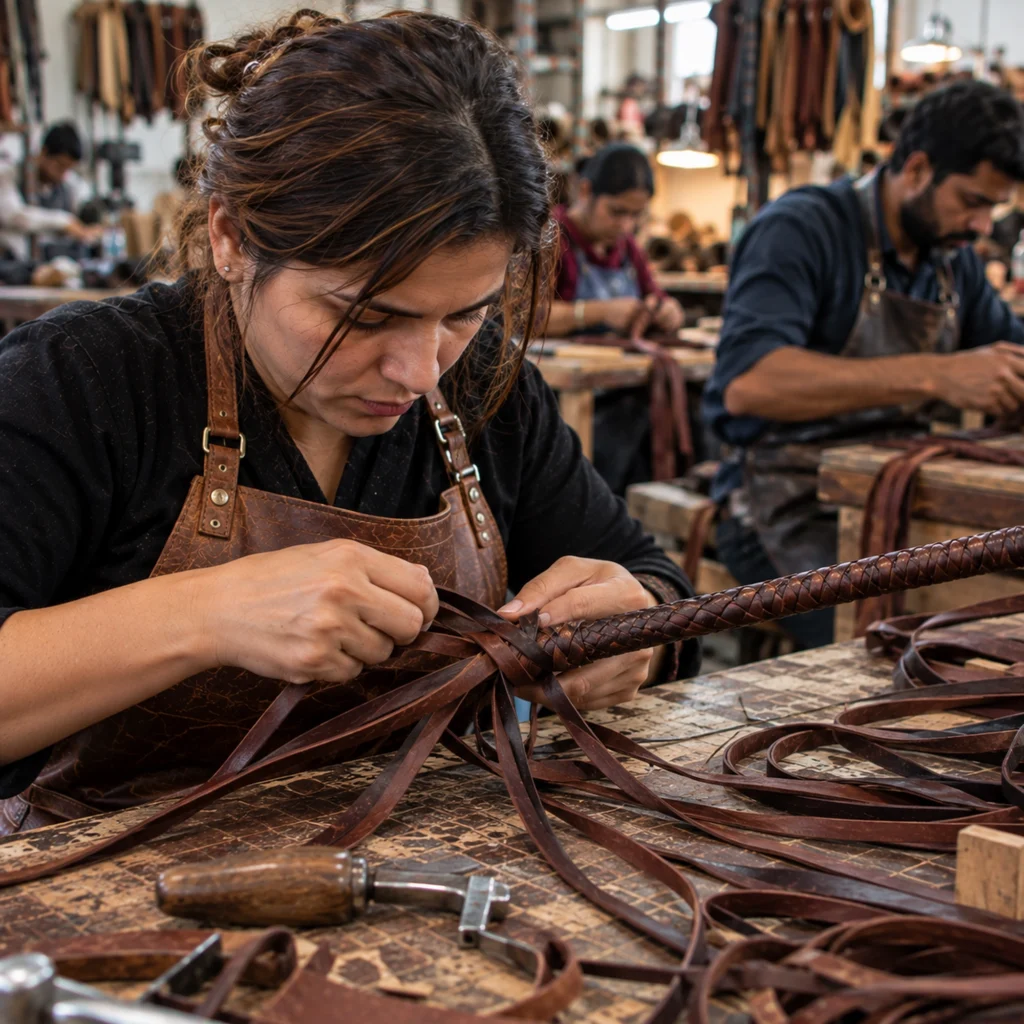
You can see examples in our Brown 12-Plait Cowhide Leather Bullwhip and 16-Plait Kangaroo Leather Bullwhip ranges.
8. Creating the Taper
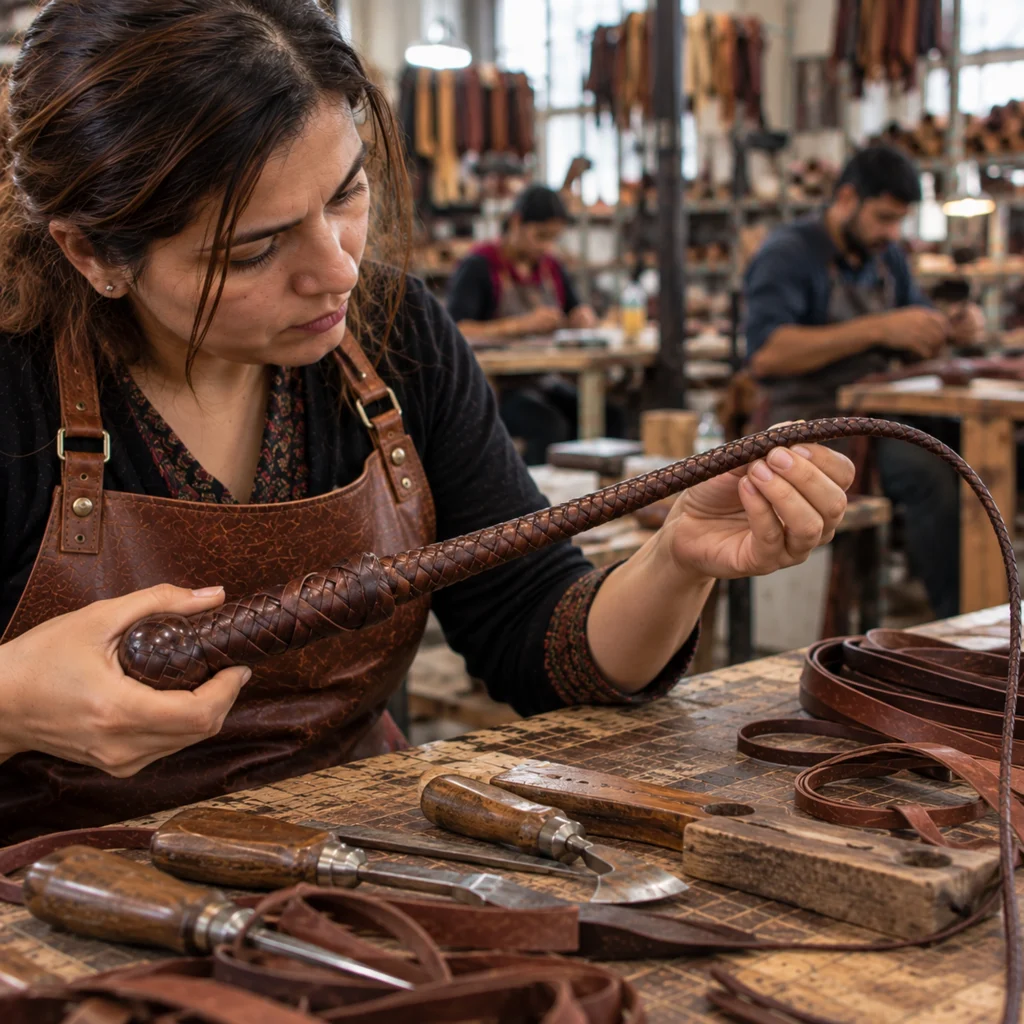
One of the defining characteristics of a bullwhip is its progressive taper.
The substantial handle and beginning of the thong gradually transition into a much narrower flexible section.
This cannot simply happen at the end of construction. The profile has to be considered as the internal structure and braided layers develop.
The leatherworker therefore continually manages the braid and underlying profile as work progresses down the length of the whip.
9. Building Additional Leather Layers
Depending on the design, bullwhip construction can incorporate additional prepared layers before the final exterior is completed.
Each additional layer must work with the taper established beneath it. The process therefore involves more than simply covering one braid with another.
The craftsperson works progressively along the structure, keeping the individual strands positioned correctly while preserving the developing profile.
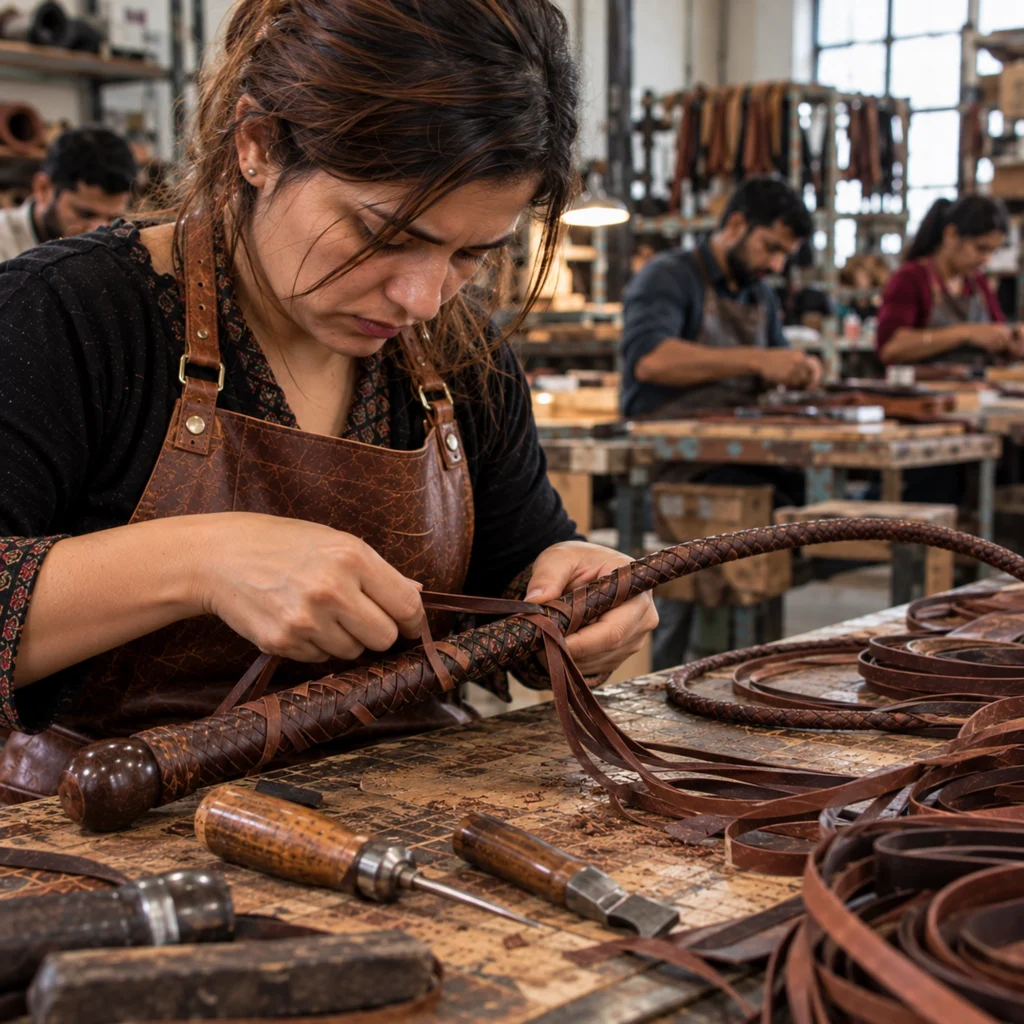
10. Forming the Transition Knot
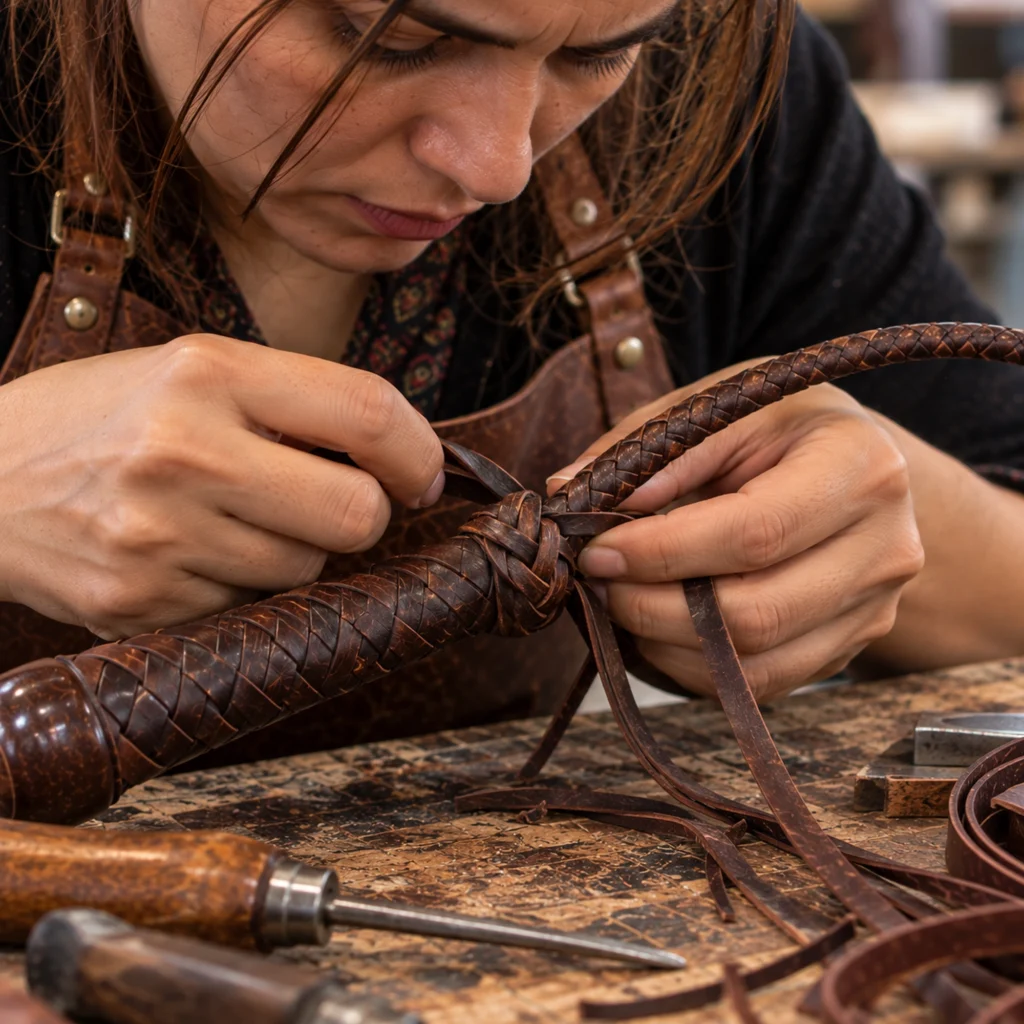
One small detail deserves particular attention: the transition knot.
This is positioned close to the point where the rigid braided handle transitions into the flexible thong. It should not be confused with the heel or butt knot at the opposite end of the handle.
The knot is formed from narrow leather strands and integrated with the surrounding leatherwork.
Although relatively small compared with the complete whip, it is one of the details that gives a traditionally constructed bullwhip its recognisable appearance.
11. Finishing and Final Inspection
Once construction is complete, the whip enters its finishing and inspection stage.
The leatherwork is checked for braid consistency, taper, symmetry, knots, handle construction and overall finish. The leather can then be cleaned and conditioned as appropriate before the finished product is photographed and prepared for the customer.
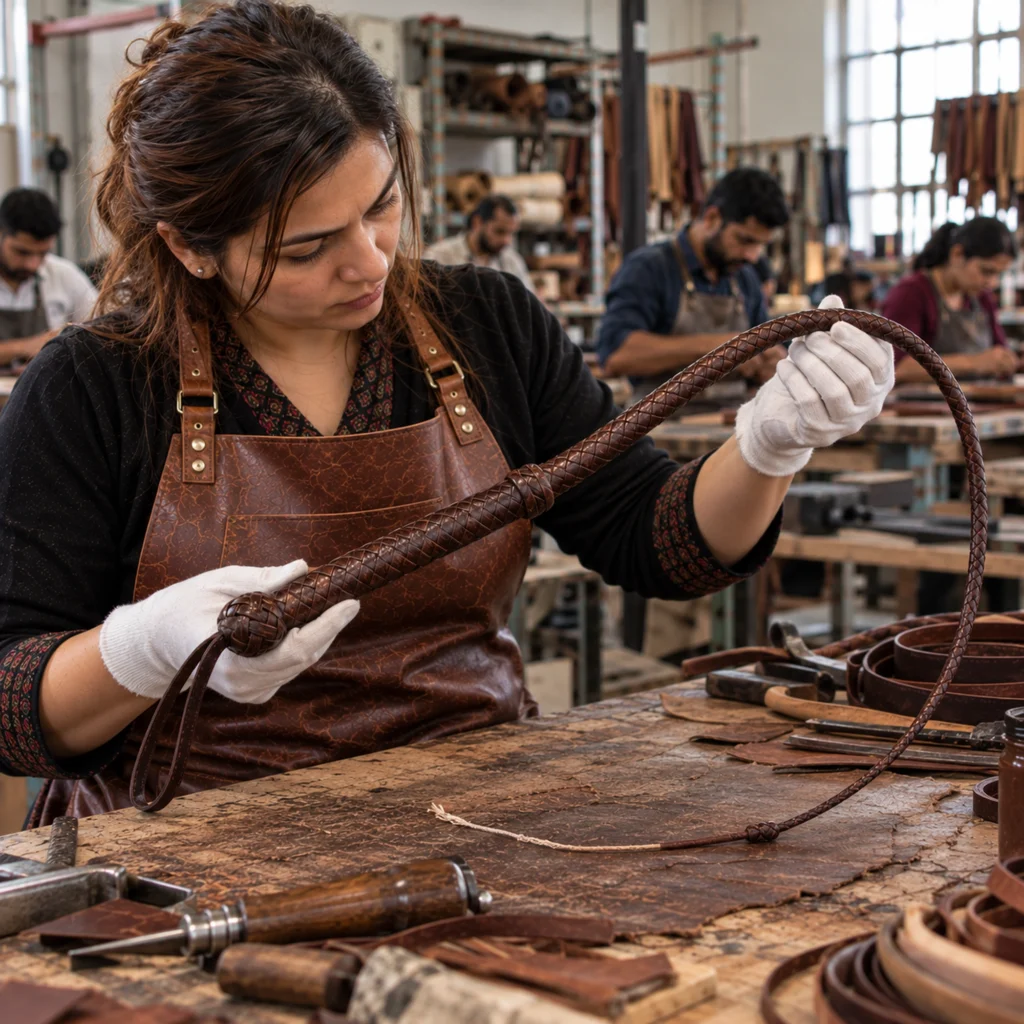
The completed whip should show the complete sequence of construction: handle, transition knot, tapered braided thong, fall hitch, leather fall and cracker/popper.
What Makes a Handmade Bullwhip Different?
The finished braid is only the visible part of the process.
A genuinely handcrafted leather bullwhip represents a sequence of connected stages: selecting suitable leather, establishing the pattern, cutting and preparing individual strands, constructing the internal foundation, building the handle, hand plaiting, managing the taper and completing the finishing details.
This is also why two handmade leather products may show tiny natural variations. Leather itself has natural characteristics, while much of the construction is controlled by a craftsperson rather than produced as a single moulded component.
For readers wanting a technical definition of leather terminology, the Leather Working Group’s leather terminology resource provides useful industry definitions for leather, grain, full grain, corrected grain and related terms.
Explore Handmade Leather Bullwhips
If you would like to see how these construction principles translate into finished products, explore Bantoro’s leather bullwhip range. For example, our Black 12-Plait Leather Bullwhip is offered in several lengths and uses a 12-plait top-grain cowhide construction. bantoro.com
For a different construction, the 16-Plait Kangaroo Leather Bullwhip uses kangaroo leather and a 16-plait design. bantoro.com
Whether you are comparing materials, lengths or plait counts, understanding what happens at the workbench makes it much easier to understand what you are looking at in the finished whip.
A handmade bullwhip starts as leather. Its character comes from everything the craftsperson does in between.